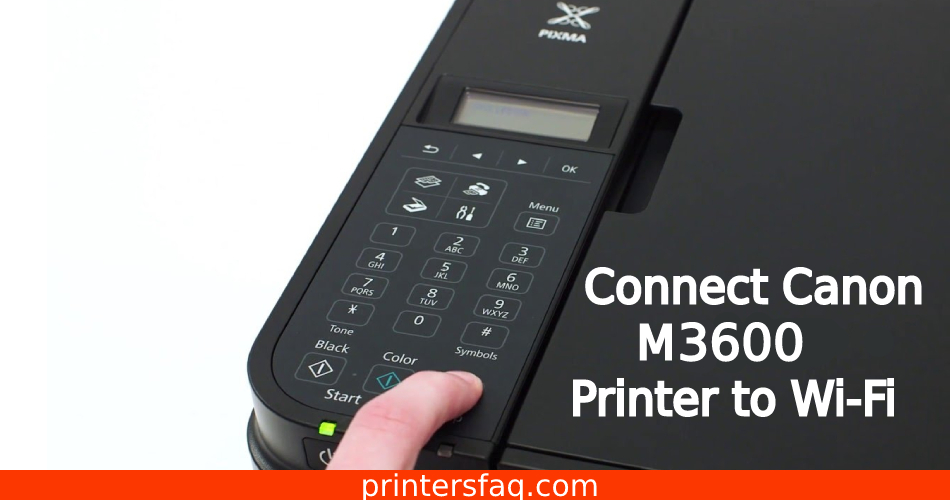
Learn how to Connect Canon M3600 printer to Wi-Fi. To learn how to connect the Canon M3600 printer to Wi-Fi, read the step-by-step procedure and follow the instructions.
However, before you begin, you should verify the WPS button approach for the following conditions:
- The access point should have a physical WPS button. See the Reference Manual for your device for more information.
- For WPA2, use your protocol stack or the WPA security protocol (Wi-Fi Protected). WPS will be used to add the proper access point. To safeguard this, you can use the WEP protection mechanism (or a cable). Check the wireless setup on your computer for further information on whether the security mechanism is employed in your wireless network.
In This Article
- 1 Connecting the Canon M3600 printer to Wi-Fi in stages.
- 2 Install the program now
- 3 How Do I Install a Canon Printer From a CD?
- 4 Connecting a Canon Printer to a Computer
- 5 How Can You Tell If Your Canon Printer Is Functioning Correctly?
- 6 How Can I Update My Canon Printer?
- 7 ‘Canon Driver Easy’ should be used.
- 8 Why won’t my Pixma printer connect to Wi-Fi?
- 9 What Should I Do If My Canon Printer Doesn’t Recognise My Wireless Network?
- 10 Wireless Configuration Using WPS
Connecting the Canon M3600 printer to Wi-Fi in stages.
Step 1: Make sure your printer is turned on and that the wireless router and WPS buttons are accessible when needed.
Step 2: Press the [Wi-Fi] key on the printer until the light on the printer stops flashing.
Step 3: Press the [Black] button first, followed by the [Wi-Fi] button. Check that the Wi-Fi light is turned on. After 2 minutes, press the [WPS] button.
Step 4: The printer’s Blue Wi-Fi bulb will continue to blink. The power and Wi-Fi indicators will blink when it is linked to the access point. The printer is now linked to its wifi router. The absence of blinking power and Wi-Fi indicators indicates a failed connection.
Step 5: Ensure that all WiFi bulbs and lights are turned on.
Validate Network Configuration. You may need to print your printer’s network settings to verify that it connects correctly to your wireless network:
- Check that your printer is operational.
- Bring A4 pieces of paper or letters.
- Locate the [Wi-Fi] icon and hold the button down until the power light flashes. Keep pressing it.
- The page with network information will be printed.
When inspecting the hard copy, ensure that the “connection” for the “active” symbol and SSID (the identity of your wireless network) are configured to identify the services that reflect the name of your wireless network.
This is the WPS setup procedure.
Install the program now
Download the program if you are unfamiliar with your product or if you are using a Mac.
After installing the program, proceed as follows for a normal connection:
- When the first screen opens, select [Setup].
- Software drivers must be updated. This might take some time.
- Then, after selecting your area and nation, click [next].
- If you accept the licensing agreement’s conditions, click [Yes].
- Click on [I agree] to engage in the longer survey program.
- Click [Next] to let the installation wizard do its work.
- Choose [Wireless LAN Connection] and then [Next].
- The app will search their network for pre-configured printers.
- It takes a bit of time, so please be patient while looking for a printer.
- The “Network Printer” pane displays a list of printers on your network. To install the program, select the appropriate printer.
- While you wait for the printer to be installed, your network and computer connection have been temporarily disconnected.
- Click [Next] to register the printer (This will open in a web browser). Otherwise, select [print].
- To finish the installation, click “Exit.”
How Do I Install a Canon Printer From a CD?
- Turn on the Printer device on the other side, as well as the operating system.
- Insert the ‘Canon Printer Setup CD’ into the CD drive.
- The drivers will read the CD and invite you to open the file if it is not already open.
- Navigate to the ‘My Computer’ area, choose the ‘CD-ROM,’ and then open the file.
- Allow the computer to install it by clicking the ‘Install’ button.
- When the installation is complete, click the ‘Run’ option to quit.
This is how you may install the Canon printer setup on your computer using a CD-ROM.
Now, this article will walk you through the three most critical methods: connecting the Canon printer to wifi, connecting the printer to a computer, and determining why the printer is having problems.
Connecting a Canon Printer to a Computer
To make your Canon printer operate, connect it to a WiFi or wireless network and then to your software (computer, laptop, or Mac). The steps provided below will assist you in doing so.
- Connect a Windows device to your Canon printer.
- Open your Windows operating system and press the ‘Windows’ and ‘R’ keys simultaneously. ‘Windows Run’ will appear; type ‘Control/name Microsoft.DevicesAndPrinters’ and press the ‘Ok’ button.
- Now, in addition to ‘Add a device,’ there is an option labelled ‘Add a printer,’ click on it.
Follow the on-screen directions to finish the operation. Once your Canon printer is linked to your computer, you may start it and evaluate its printing quality.
How Can You Tell If Your Canon Printer Is Functioning Correctly?
Even if you take excellent care of your laser printer, it will occasionally behave strangely.
- You are receiving ‘Canon Printer Error’ messages.
- Canon Printer isn’t printing anything.
There might be various additional issues you are experiencing when using the Canon printer. The most likely causes of the error are such that you are using an outdated printer device or that the printer device has become corrupted as a result of a virus assault on your operating system.
How Can I Update My Canon Printer?
To resolve this issue, you must upgrade your Canon printer driver. If you are unfamiliar with the method for upgrading a Canon printer, follow the instructions outlined below.
- Turn on your Canon printer and make sure you have internet connectivity.
- Navigate to the printer’s ‘Menu’ and choose ‘Setup.’
- Select the ‘Device Settings’ option and press the ‘Ok’ key once again.
- Navigate to the ‘Install Update’ option and press the button.
- When the system prompts you for confirmation, select ‘Yes, I want to upgrade the Canon printer.’
Allow the printer to finish the update while you are away. This entire procedure may take longer. If you’re short of time and looking for another approach to fix the Canon printer that’s not working, keep reading.
‘Canon Driver Easy’ should be used.
Driver Easy can automatically recognize your device and locate the appropriate drivers for it. You don’t have to know what application your system runs, you don’t have to worry about installing the software with the wrong driver, and you don’t have to worry about installing it incorrectly. You can handle anything with the use of one genuine, Driver Easy.
Driver Easy also offers a pro edition of their software. Users can upgrade the application and use it for free for 30 days. The methods for downloading and installing Driver Easy are outlined below. Read and install to keep your Canon printer error-free.
Go to the official Driver Easy website, which is www.drivereasy.com.
- Navigate to the ‘Install Driver Easy Guide’ and click it to access the new page.
- When you click ‘Download Here,’ the file will begin downloading automatically.
- Now, navigate to your operating system’s ‘Downloads’ folder and locate the ‘Driver Easy’ file.
- The file will be titled ‘DriverEasy Setup.exe,’ so double-click it to open it.
- Drop down the ‘Language’ area and pick ‘English’ before clicking ‘Ok.’
- Finally, select ‘Install Now’ and check the box next to ‘I accept these arguments.’
- To complete the procedure, select the ‘Launch Now’ option, and the Driver Easy will be downloaded and ready to use.
Why won’t my Pixma printer connect to Wi-Fi?
If your router’s settings have not been changed, it is best to unplug from your printer and switch off your wireless network (new password, new wireless policy). Reconnect your wireless router once it has been unplugged for 15 seconds. After the printer has fully initialised, replace it and turn it on. Try again once you’ve printed.
What Should I Do If My Canon Printer Doesn’t Recognise My Wireless Network?
- This will get the following results: Power button once the printer has been switched on.
- After you’ve entered the printer settings, hit the ‘Home’ button on the screen, and then hold the WiFi button on the touch interface.
- Then select the ‘LAN Wireless Setup’ option, followed by ‘OK.’
- Choose the WiFi Network in the router’s settings (called Canon).
Wireless Configuration Using WPS
First, make sure your router enables WPS. If it does not, use the regular wireless connection technique. You can enlist the assistance of our technical professionals in this regard.
- Turn on the printer.
- When the initialization is complete, press and hold the Wi-Fi button until the Wi-Fi lamp illuminates.
- Now, let go of the button and push the Color button.
- Select the Wi-Fi option. The Power bulb should now be turned on.
- The printer is now configured to connect to a wireless network.
- Navigate to the Wi-Fi router and tap the WPS button.
- Keep it pressed for at least 2 minutes as the printer connects to the wifi network.
- Put the CD-ROM that comes with your printers into the CD drive on your computer.
- Start the driver installation process.
- If your computer does not accept the CD-ROM, go to the printer’s official website and obtain the printer driver for your operating system. This is an important step in connecting the Canon MG3600 printer to WiFi.
- To install the driver, double-click the downloaded installer file.
- Check that you are logged in as an administrator.
- To continue with the driver installation, click the Yes button if the User Account Control dialog box displays.


