All Pixma machines offer versatile capabilities. You may connect your Canon MG 3620 printer to your Wi-Fi wireless network. Everyone in your home or workplace may use this printer from any location without having to install a wire. Connect the printer to a Wi-Fi wireless connection and use it wirelessly using this procedure.
The PIXMA MG3620 Wireless Printer is simple to operate. The Canon Print app allows users to print and scan photographs and documents directly from their smartphones. Print using AirPrint 3 technology and use Android smartphones with your iPad, iPhone, or IPL
MORA 4, as well as Google Cloud Print 5.
Before you begin the installation, make sure you are signed in as an administrator, that your work is saved, and that all other applications are closed.
Canon is a well-known brand in the printing industry for producing high-quality printers. It creates printers based on customer requirements. As a result, you may select exactly what you want from a wide range of printers.
The Canon Pixma MG3620 is one such high-quality device. Another is the Canon Pixma MGF3620. This all-in-one inkjet printer is incredibly economical and makes printing a breeze for you. Furthermore, it is compatible with all Windows devices and operating systems, including Mac, iPhone, and iPad.
It also has a wireless printing function, which allows you to print through wifi. Overall, this low-cost, high-efficiency printer is the ideal option for printing at home and for business.
However, many new users find it difficult to complete the Canon Pixma mg3620 wireless network connection. Are you one of them as well?
Don’t worry; it’s not as difficult as it appears.
We will learn how to link the Canon mg3620 printer to wifi in this article.
In This Article
How to Configure Canon mg3620 WiFi Printers
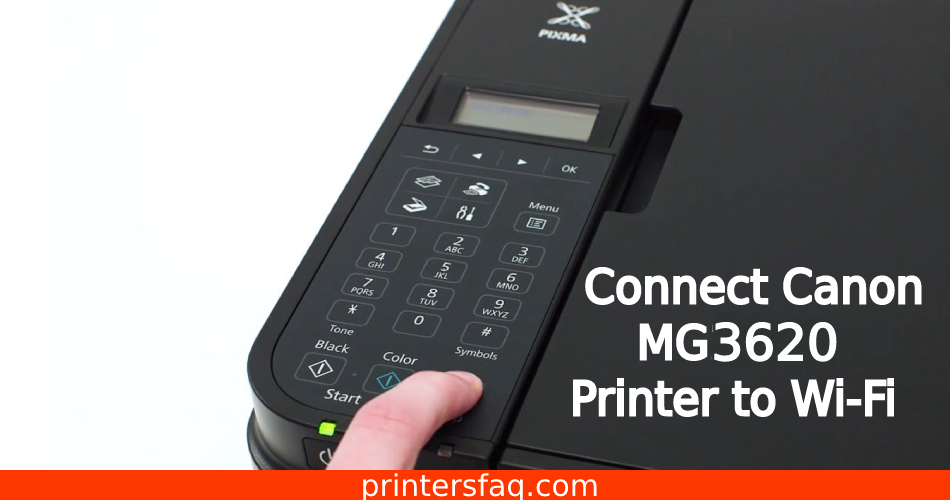
- Wait for the printer to finish printing, cleaning, aligning, or any other job. If the printer’s Wi-Fi light is on, push the Stop button.
- When the light blinks, press and hold the printer’s Wi-Fi button.
- Press the colour button, then the Wi-Fi button again.
- Check that the Wi-Fi light is on and that the present illumination is switched on.
To proceed with wifi configuration, you must first install driver software on your computer. Follow the instructions underneath to install the necessary drivers and software.
Insert the CD containing the program into the CD drive. The installation process will begin automatically. If not, navigate to the CD-ROM folder and run the executable file. On the other hand, you may create a Canon website using the Canon MG 3620 website.
- Provide the installation if a Windows user controller or an antivirus/firewall dialogue box displays.
- On the Start screen, click the Start Settings option.
- Follow the on-screen directions to choose your country, licensing agreement, and so on. You will choose the mode of connecting. Next, select the wireless LAN connection.
Link to the radio button via the wireless router (preferred) and click next on the following page.
- The power checking screen will be shown. Next should be clicked.
- The printer is included among the screen networks. Make absolutely sure your Canon PIXMA3620 is chosen before proceeding. The serial number may be found on the printer’s label.
- A full-screen connection is displayed. Next should be clicked.
- The whole setup screen appears. Next should be clicked.
- The list of software installations will be presented. Select the optional applications you wish to install and press the Next button.
- Allow the setup to take place. A notification confirming that the installation was successful will be shown.
This is how to set up the Canon Mg3620 WiFi printer.
How to Wirelessly Connect the MG3620 Using the Printer’s Control Panel
- Wait for the printer to complete printing, cleaning, aligning, or doing any other activity. If the printer’s Wi-Fi light is blinking, hit the Stop button [B].
- Press and hold the printer’s Wi-Fi Button [A] until the ON light [B] flashes.
- Press the Color [C] button first, followed by the Wi-Fi button. Check that the Wi-Fi light is blinking and the ON light is turned on.
- To proceed with the wireless setup, you must install the drivers and associated software on your computer. To update the drivers and software, follow these procedures.
- Allow the installation if any conversation boxes from Windows User Account Management or your antivirus/firewall occur.
- On the first screen, click the Start Setup button.
- Follow the on-screen directions to choose your country, licensing agreement, and so on. You will succeed. Choose a Connection Method Select Wireless LAN Connectivity and then click Next.
- On the following page, pick the radio button Connect through wireless router (recommended) and then click Next.
- The screens listed below will appear in the order listed. Make certain that your Canon PIXMA3620 is chosen in all of them. You may check the serial number on the back of your printer by glancing at the sticker.
- The Application Software List will be shown. Choose the optional applications to install and then click Next.
- The screen Installation finished successfully will show. To finish the setup, click Exit.
Canon Pixma mg3620 Printer Specifications
This fantastic printer represents outstanding value for the money, especially for small-scale applications.
Listed below are some of the primary features that make it so popular.
- It is compatible with a wide range of platforms, including Windows, iPhone, iPad, Mac, and Android.
- Wifi printing allows you to print from any location in your company or home.
- The printer is simple to install and use.
- The device includes several fantastic printing choices, including Airprint, Google Cloud Print, Canon, and Mopria Print.
- The high-quality ink cartridges improve the printing experience by producing outstanding document and picture printouts.
- Its tiny size makes it portable and allows you to conserve space.
How to Setup Canon Pixma mg3620 Wireless?
In general, the technique for configuring a Canon mg3620 printer wireless network for Mac differs from that for Windows.
There are two methods for wirelessly configuring the device:
- WPS connection technique via direct process (via wifi)
- To finish the Canon mg3620 wireless setup, follow the instructions outlined below.
To finish the Canon mg3620 wireless setup, follow the instructions outlined below.
Step 1: First, turn on your laptop and Canon printer.
Step 2: Next, hold down the wi-fi button on the printer’s control panel until the wi-fi light begins to flash.
Step 3: Press the “black” color button again, then the “Wi-fi button,” making sure the wi-fi light is turned on.
Step 4: Once the light has stabilized, go to the printer’s start screen and choose “Start settings.”
Step 5: A menu will appear, from which you must select “Wireless Lan connection” as the connection and then click “next.”
How Do I Get My Canon mg3620 Printer to Connect to WiFi?
For Microsoft Windows
Connecting the Canon Pixma mg3620 to Windows through wifi is simple and painless. Here’s how to set up your Canon mg3620 wireless printer on Windows.
Step 1
- First and foremost, ensure that the Canon mg3620 turns the printer on.
- If the wifi light starts blinking, hit the “stop button” to turn it off.
- Now, on the printer screen, push and hold the wi-fi button until the wi-fi light flashes.
- When the light flashes, concurrently push the colour and wifi buttons. Check that the wifi lamp is blinking.
Step 2
- You must now download the Canon printer driver/software on your PC. Then, insert the printer’s installation CD into the CD Rom and execute the setup.
- If you did not receive the driver CD, you might download and run the driver/software from the Canon website. Look up the model of your printer and pick “Windows” as the operating system.
- Run the setup and then select “yes” to begin.
- On the following page, select “Start Setup.”
- Choose “Wireless LAN network” for “choose connection method.” Then, to proceed, hit “next.”
Step 3
- Next, pick your nation of residency and press the next button.
- The following screen will display a lengthy list of “terms and conditions.” Read them carefully before clicking “accept” to continue.
- You must select your printer, in this case, the Canon Pixma 3620, from the network data list.
- Additionally, choose your wifi connection and input its password. Then, on the “Setup Complete” page, click “next.”
- The software will now begin. The procedure may take some time to complete.
- Finally, after the setup is complete, click the “Exit” button to exit the procedure.
You have now successfully wirelessly configured the Canon Pixma mg3620 on your Windows PC. As a result, you may print documents using your printer’s wireless connection.
For the Mac
Canon Pixma mg3620 wifi setup for Mac is nearly identical to that on Windows. However, at a later time, the steps must be altered.
To connect your printer to a network, follow the steps outlined below.
Step 1: Follow the Windows instructions above until you get to the part where you have to input the printer’s details.
Step 2: When searching for a Canon program on the official website, remember to choose “Os” as your operating system.
Step 3: Type “Canon Pixma mg3620” as the printer device and press the Next button.
Step 4: Read the instructions completely before clicking “agree.” In addition, if your safety system is on, you may receive certain warning alerts. You can disregard these and proceed to the next screen.
Once the app is installed, you may wirelessly print documents and photos from a Mac device.


