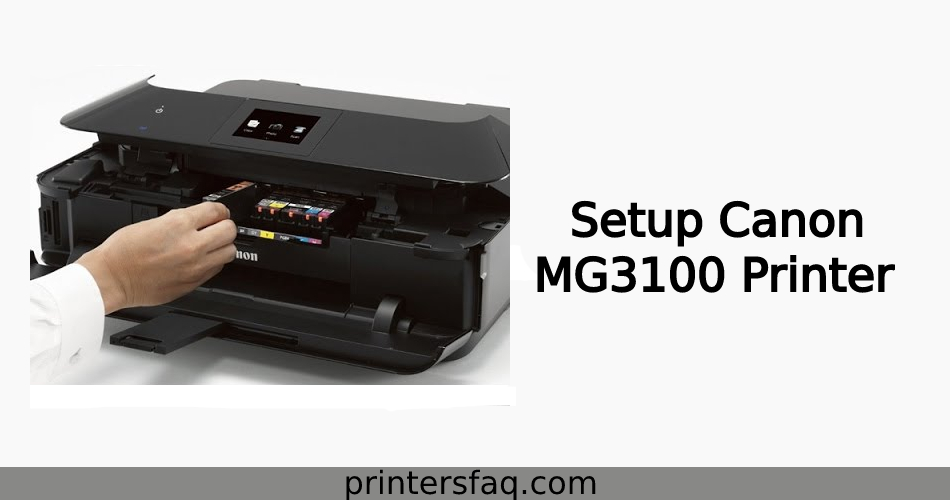
Canon MG3100 Series printers are available. This version resolves issues with poor print quality, printer inactivity or inability to print, sluggish printing, and application crashes during printing. Our repository provides the most recent Windows 11 and Windows 10 drivers for this device. Windows 8 and earlier operating systems are also supported. The matching drivers have a rating of 3.9 out of 5 stars and have been downloaded a total of 22,560 times. Find the optimal version for your operating system below. We guarantee safe and secure downloading.
It is likely that the drivers have gotten broken if you have recently had power outages, viruses, or other computer difficulties. Search the list above for the driver that corresponds to your hardware and operating system. Use our proprietary driver search engine to discover the precise driver to get more matches.
In This Article
- 1 Installing Drivers
- 2 Device Manager is used to install drivers.
- 3 Automatic Driver Installation
- 4 The Advantages of Updating Drivers
- 5 HOW TO LINK A CANON MG3100 PRINTER TO A MAC
- 6 What is the simplest way to remotely configure the Canon MG3100?
- 7 Method of WPS Connection
- 8 Common blunders
- 9 Canon Pixma MG3100 Ink Cartridges
- 10 Explaining compatible cartridges
- 11 Cleaning a Canon Ink Absorber
- 12 To summarise
Installing Drivers
You must install your new driver after downloading it. To install a driver in Windows, you must utilise the built-in Device Manager program. It displays all of the devices detected by your system, as well as the devices to perform with them.
Device Manager is used to install drivers.
- Locate the problematic device and model and double-click it to display the Properties window.
- Choose the Driver tab.
- Follow the on-screen directions after clicking the Update Driver button.
In most circumstances, you’ll have to restart your computer for the driver update to take effect.
Automatic Driver Installation
Some device drivers are not updated by Microsoft Windows Update. Stop searching and resolve driver problems faster using the Automatic Driver Update Utility if you’re having difficulties locating the proper driver. You might save hours of time by using automatic updates.
The Driver Update Utility detects, downloads, and instals the appropriate driver for your operating system and your hardware. It will automatically update all of your drivers and even backup your drivers before making any changes.
- When you download and use the application, it will search for outdated or missing drivers.
- After the scan, the driver update application will provide a results page indicating which drivers are lacking or out of date.
- Then, with a single click, update individual drivers or all of the required drivers.
The Advantages of Updating Drivers
Many computer difficulties, particularly in Windows 11, are caused by lost or obsolete device drivers. If your desktop or laptop is operating slowly, crashing, or hanging, upgrading your drivers is likely to solve the problem.
- Ensures that your gear is performing at its best.
- Fixes issues, resulting in fewer system crashes.
- Allows you to access additional functionality and setup choices in your devices, particularly video cards and gaming devices.
HOW TO LINK A CANON MG3100 PRINTER TO A MAC
Canon has been a household name for decades, and for good reason. They have created a name for itself in the electrical business by offering a wide range of high-quality items. The Canon Pixma Mg3100 printer was just announced as their newest model.
A printer has swiftly become an integral element of your home equipment because of its simplicity of use and convenience. However, putting one up might be a difficult undertaking. There are a few things you should keep in mind while using a printer with your MAC computer. This post will help you understand how to Setup Canon Mg3100 Printer Wireless to MAC.
What is the simplest way to remotely configure the Canon MG3100?
Canon Pixma MG3100 has made wireless printing extremely simple and convenient. However, before you begin, ensure that you have a Wi-Fi router and a steady internet connection. You may locate various access points, also called hubs and routers, that include a ‘WPS’ button and that is all you require. This automatic connection button, which stands for Wi-Fi Protected Setup, allows all of your approved devices to join a certain network without entering a password. While this is the simplest approach for connecting your Canon Pixma printer, there are certain steps you must do to learn how to Setup Canon Mg3100 Printer Wireless to MAC.
Method of WPS Connection
Before you begin the process of configuring your Canon printer, there are a few things you should know.
To begin, the access point must have a real WPS push button. You may find such information in the device’s user handbook. If such a button is not there, you must rely on the traditional technique of attaching the printer through USB.
Second, the network must use either WPA or WPA2 security settings. This is used by the vast majority of WPS-enabled access points.
Once these prerequisites have been completed, you may begin with how to Set Canon Mg3100 Printer Wireless to MAC.
Step 1:
First and foremost, switch on your printer. The power is turned on when the LED display on the printer lights up and indicates ‘1’.
Then, on the printer, press and hold the service button for around 5 seconds.
The LED display will begin to flash as a result of this.
Step 2:
The second step is a little more complicated and should be given more attention. Begin by pushing the ‘Fit to Page’ button, after which the led will begin flashing again.
When it starts flashing, push the ‘WPS’ button on the entry point within 2 minutes. When you do this, the blue light on the printer that displays Wi-Fi settings will begin to blink. This indicates that the printer is either looking for or connecting to a stable network.
Your printer is now connected to the wireless network. When finished, the LED display on the printer will glow up for around 3 seconds before returning to ‘1’ as previously. You should also check that the printer’s Wi-Fi bulb is turned on.
Common blunders
Certain mistakes may occur as a result of a minor error. This is often shown on the printers by flashing the letter ‘E’ followed by a certain number alternately. If you find yourself in this circumstance, use the back button and start again from the beginning.
If the problem persists, contact your provider for help or obtain the manual. The most typical mistakes made by witnesses are E, 2, 1 and E, 2, 3. While the former is shown if the wireless connection is not established after two minutes of pushing the WPS button, the latter indicates that several WPS access points have been discovered.
Canon Pixma MG3100 Ink Cartridges
If you print frequently, our range of extra-large (XL) Canon Pixma MG3100 cartridges will come in handy. The black Canon PG-540XL cartridge has a page yield of 600, while the colour Canon CL-541XL cartridge has a page yield of 400. Our Ink Value Pack combines the two in a convenient bundle, allowing you to have the best of both worlds while saving money.
Explaining compatible cartridges
Canon goods aren’t the only options available to Pixma MG3100 owners. Own-brand compatibility cartridges are tested in the same way as Canon’s and produce high-quality printouts. Our compatible cartridges are often less expensive and come with a three-year warranty, which means we’ll offer you a refund or replacement if you’re not completely satisfied during that time.
Cleaning a Canon Ink Absorber
Canon printers employ tiny, spongy pads to collect surplus ink when printing and to clean the print heads. When these pads are full, the printer will show an error message such as “Ink Absorber Full.” Some versions include a succession of flashing lights that you must decode by consulting the user handbook. When the ink absorber pads on most Canon printers are full, they are simple to remove and clean.
- Set aside a big dish filled with warm, soapy water. Wear rubber gloves.
- Remove the ink cartridges from the container. This container may be located in the front or rear of your Canon printer, depending on the model.
- Allow the ink cartridges to fully retract before disconnecting the printer’s power line.
- Under the ink cartridge assembly, look for a black rubber frame. This is where the ink absorbent pads are kept.
- Remove the printer’s rubber frame and the ink absorbent pads. The amount of pads varies depending on the model.
- Fill the basin with the pads. To remove the ink, rub and compress them. Discard the liquid and replace the basin with extra warm, soapy water when the water gets opaque with ink. Repeat this method until all ink has been cleaned from the pads.
- Drain the excess water from the pads and lay them out to dry on a stack of three or four paper towels.
- Every hour, check the pads to see if they are dry. Replace the paper towels if they become soaked.
- When the pads are totally dry, replace them in the rubber frame. Reinstall the printer’s frame.
- Hold down the “Power” button while reconnecting the power cord. When the printer turns on, let go of the button. Wait five seconds before pressing the “Power” button again. The printer’s internal memory is reset, and the “Ink Absorber Full” error code is overridden.
To summarise
If you follow these simple steps, wirelessly configuring your printer will be a breeze. However, before you begin, read the user manuals for both the printer and the wireless connection completely. This will make it much easier for you to identify the buttons and any problems.


