The HP 6830 Wireless Printer is an inkjet printer that is ideal for both home and business usage, with a cost-per-page that is 50% cheaper than comparable laser printers. The device, designed for productivity, offers print, copy, scan, and fax functions as well as a variety of time and cost-saving features.
In This Article
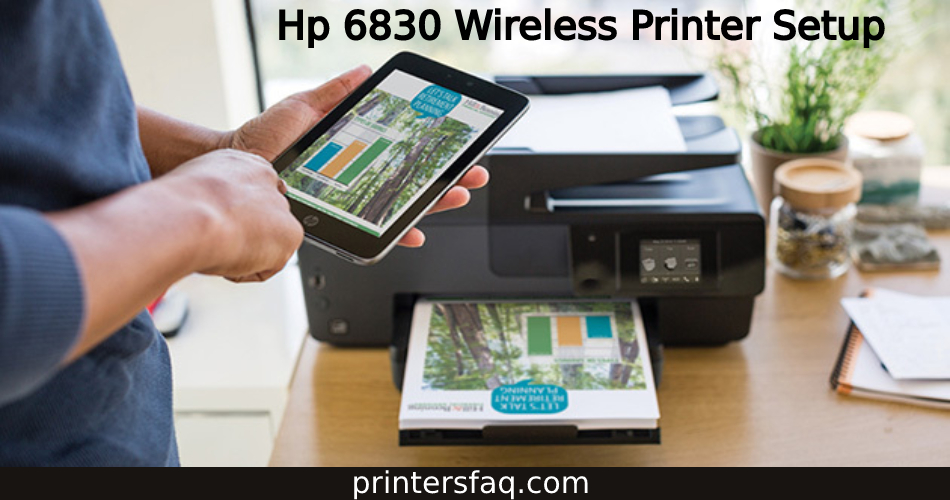
Complete Connectivity
The 6830 combines communication with a broad range of devices via wired and wireless networking, making it easier for additional users to connect effectively to the unit. HP ePrint allows smartphones, tablets, laptops, and PCs to connect to the unit. Users may use the software’s full capabilities while on the go. Users can also connect to the machine via a wired connection via an Ethernet connection or a local network/Wi-Fi.
High-Speed Performance
The 6830 can produce enormous volumes of enhanced print, copy, scan, and fax features, allowing you to increase production without sacrificing quality. The 35-page automated paper feeder and 225-sheet paper tray let you rapidly set up high-volume projects without having to manually reload or check output, saving you time and energy. The 6830’s crisp 6.75cm touchscreen makes operation extremely simple and efficient, both for residential and professional users.
Energy-Saving Performance
HP is committed to reducing energy use throughout its operations and those of its customers. Replacement parts are fewer and further between when container sizes and capacities are reduced.
Adding an HP 6830 Printer to a Wifi Network
This wikiHow will show you how to connect an HP printer to a wireless network. You will be able to print from another computer within the same network without needing to connect to your computer. Since not all HP printers have wireless capabilities, ensure your printer can connect to the Internet before proceeding.
Method 1: Connecting Automatically
- Check to see if your machine and network are suitable. Your computer and network settings must fulfil the following requirements in order to utilise HP Auto Wireless Connect: [1] Your machine must run Windows Vista or later (for PCs) or OS X 10.5 (Leopard) or later (for Macs) (Macintosh).
- Over a 2.4 GHz connection, your PC is linked to an 802.11 b/g/n wireless router. HP does not yet support 5.0GHz networks.
- The wireless network must be controlled by your computer’s operating system.
- Your PC must connect to your network as well as the operating system through a wireless connection.
- Your computer must utilise a dynamic IP address rather than a static one (if you haven’t specifically paid for a static IP address, you most certainly have one).
- Look for the software for your printer. Enter your printer’s model number into https://support.hp.com/us-en/drivers/, select Find, and then click Download next to the leading software listing.
- Double-click the program installation file. It will launch the printer setup wizard.
- Start your printer. If your printer is HP Auto Wireless Connection compliant, this will prepare it to connect.
- This option will only be saved by the printer for two hours.
- Follow the directions on the screen until you reach the “Network” section. These will differ based on the model of your printer and the operating system on your computer.
- Choose your network (Ethernet/Wireless). This option is located in the centre of the page.
- Yes, send my wifi configuration to the printer. This will detect the printer and relay information from your wireless network to the printer.
- Allow time for your print to connect. It may take a few minutes for your printer to connect. When it does, a confirmation message should appear on your computer’s screen.
- Complete the setup procedure. Follow the remainder of the on-screen steps to finish the installation on your computer. You will be able to use your printer after the setup is complete.
Method 2: Connecting Manually
- Ascertain that your printer is properly installed on your PC. In most situations, all you need to do is attach the computer to the printer via USB connection and let it install its software; nevertheless, many printers also include installation CDs.
- Start your printer. Check that your printer is powered on, then push the Power button.
- If required, activate the touch screen. Some printers require their touch displays to be folded out or switched on separately from the printer.
- If your printer lacks a touch screen, you must connect it to your wireless connection via the software setup procedure. If you already have your printer installed, you may need to remove it and then reload it in order to join it to the wireless network.
- Choose Setup. The placement and look of this option will vary based on your printer, but it is typically represented by a spanner and/or a gear.
- To access the Setup option, you may need to scroll to the bottom or to the right.
- You may also have the option of selecting Wireless. If this is the case, select Wireless instead.
- Choose a Network. This will bring up the wifi settings.
- Navigate to Wireless Network Wizard. This will cause the printer to start looking for wireless networks.
- You may also choose the Wireless Setup Wizard here.
- Choose a network name. This ought to be the name you gave your wireless connection when you set it up.
- If you didn’t configure your wireless network with a network name, you’ll most likely see a mix of your router’s model numbers and company name instead.
- If you don’t see your network’s name, scroll down to the bottom of the page, choose the field there, and type it in.
- Enter the password for your network. This is the password you use to get access to your wireless connection.
- If your router has a WPS button, press and hold this toggle for three seconds instead.
- Choose Done. This will preserve your login information. The printers will begin connecting to the network.
- When asked, choose OK. You should be able to print from your wireless network now.
Connecting a wireless network to an HP OfficeJet printer
- Activate your wireless printer. To connect to your wireless network, utilise the touchscreen on the wireless printer.
- Press the right button key and then configure it on the touchscreen.
- Choose Network from the setup options.
- Select Network Settings Wizard from the Network menu, and it will look for wi – fi routers in the area.
- Choose your connection (SSID) from the drop-down menu.
- Enter the network’s WEP/WPA passphrase and click Done.
- To confirm the settings, press OK.
- To print the wireless report, press OK or Skip.
HP Auto Wireless Connection makes it simple to connect HP devices
HP Auto Wireless Connect, a feature included in new HP printers that allows for automatic network connection during the basic setup and installation process, is one of the easiest methods to deploy wireless printing.
It’s really simple to use and can be done from the convenience of your printer’s display. Simply pick “Network (Ethernet/Wifi)” when required, then “Yes, send my wireless setup to the printer (recommended)” during configuration. It’s that simple to link an HP printer to WiFi with supported printers.
Regardless, certain printers and systems may not recognize or fully support HP Auto Wireless Connect. In such a situation, you’ll have access to more options or the ability to bypass throughout installation. If you’re working with an older printer, you’ll also need to check a couple boxes in order for it to immediately connect to WiFi.
An up-to-date os and a traditional wireless network setup are required for HP Auto Wireless Connection to function successfully. You’ll also need the normal dynamic IP address that most users have and a computer network linked at the 2.4 GHz frequency, though some gateways can compensate for the difference on occasion.
Other simple options
If you are unable to connect to WiFi after your initial printer setting using HP Auto Wireless Connect Connect, you have numerous more simple options.
WiFi Security Configuration
Users who have a router and printers that both offer WiFi Protected Setup (WPS) have a method that is nearly as simple as auto connect. To begin, check your product handbook to ensure that WPS is enabled. You may also physically inspect your hardware for a WPS button, since many modern equipment that accept this approach, like routers and printers, have one plainly indicated.
Simply hit the WPS button on your printers and then the WPS button on your router when they are both available. Otherwise, hit the WPS button on your router and then pick the appropriate network through your printer.
HP Wireless Setup Assistant
You may also launch the HP Wireless Setup Wizard on HP printers with built-in screens by heading to your printer’s Network settings. From there, you’ll be able to view a comprehensive list of available networks in your area. Simply select your preferred network and provide your authentication key to join and begin printing.
USB printer-to-computer
If you don’t have printer displays, you may also manually connect the printer to the PC while installing all of your printer software. This may be accomplished simply by connecting your printer and computer through USB.


