When your printer fails to scan papers to your computer as it should, it can be quite aggravating. Perhaps you’ve tried every standard troubleshooting procedure yet nothing has worked so far. This blog article will go through several possible solutions for this issue. We’ll also give you some pointers on how to avoid this in the future. Let’s get this party started!
In This Article
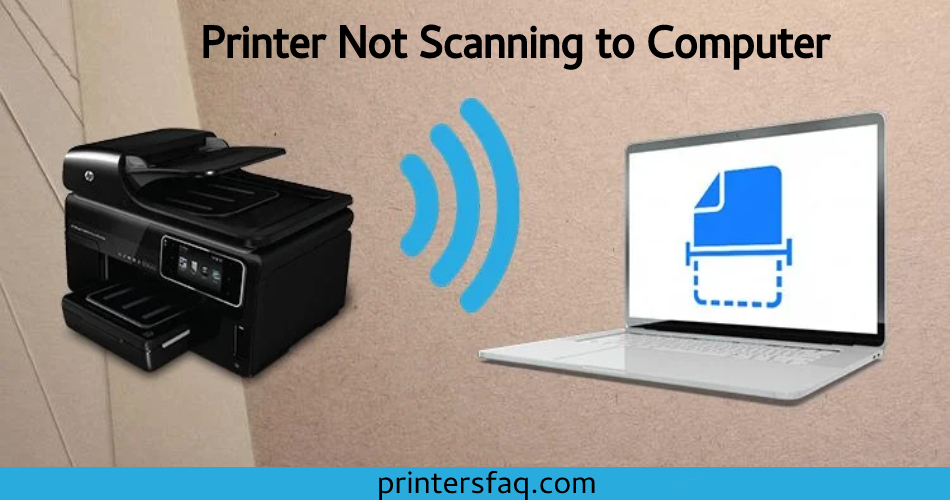
Causes of Printer Failure to Scan
There might be several reasons that your printer isn’t scanning documents properly. Here are a few examples:
The scanner is switched off.
Check to see if the scanner is switched on. This may seem obvious, but it is the first item you should examine. People frequently forget to switch on their scanners and believe the problem is another issue.
Something is in the way of the scanning
If something gets in the way of the scanner’s path, it won’t be able to scan papers accurately. Check for any blockages in the path of the scanner and relocate any things that may be preventing it.
The printer driver is out of date or corrupted
You need to update your printer driver. Outdated drivers might create scanning issues in rare circumstances.
Scanning documents might be hampered by outdated or faulty printer drivers. Check to see if you have the most recent printer driver loaded, and if not, obtain and install a fresh one from the printer manufacturer’s website.
The PC doesn’t even have the necessary software to scan documents
Check that the programme is correctly installed. This may be accomplished by looking via your computer’s control panel. If you don’t see any listings for your print or scanner, you probably need to reinstall the programme.
If you are unsure how to proceed, see your printer’s manual or call the manufacturer’s customer service department.
Wireless printer-computer connection problem
If you’re scanning documents wirelessly, check sure both the printer and laptop are turned on and linked to the same network.
Basic Printer Maintenance
Before you begin troubleshooting, perform a simple printer inspection. This can aid in identifying any potential issues that may be leading the scanner to malfunction. Here are some ideas to get you started:
To begin, perform our simple printer inspection.
- Start your printer.
- Check your printer’s screen for any displays or button issues.
- Place any sort of paper on your document feeder, then press the copy button. It makes no difference whether you copy in black and white or colour. You may choose either of them.
If you can successfully copy, continue to the instructions below.
If your printer cannot copy, you have a considerably greater problem than a printer that really can scan.
How to Fix Printers Not Scan To Computer
The sophisticated scan-to-pc software provided with your device makes document scanning simple! You may scan straight to your PC or use OCR software to share scans with others. Simply insert a paper face down on the scanner glass and push the green button on the front of the machine to begin scanning. The scanned file will now show in your My Documents folder; you may now transfer it to an online storage provider such as Dropbox or Google Drive!
Don’t panic if you’re having difficulty getting your printer to scan documents; you’re not alone. This section will give you some pointers on how to solve the issue and get your printer to scan again.
Following these easy procedures, you will be able to scan papers using your printer once more.
Make sure the scanner is switched on
If you’ve been using your printers for some time and it suddenly stops working, the first thing you ought to do is make sure it’s turned on.
Install the most recent printer driver
Check to see if you have the most recent driver updates for your printers. Outdated drivers can frequently create scanning issues. Check that the computer has the necessary scanning software installed.
Examine the printer for an offline fault
Check to see whether your printer is offline. You may accomplish this by going to the control panel of your printer and checking for an “Offline” or “Not Connected” status. If it is, try printing a page to see if the problem goes away.
Scanning a paper
Scan papers with a separate programme. If the problem only happens in one program, there may be a problem with that software. For support, contact the software’s maker.
If everything else fails, get in touch with the printer manufacturer’s customer support department for assistance. If your printer is still under warranty with them, they may be able to assist you repair the issue remotely or, if that is not feasible, provide you a replacement printer.
Advanced Repair Steps to Resolve Printer Scanning Issues

If your print is still not reading or copying, you must do a semi-full reset.
Everything will be as good as new after a semi-full reset. You will be able to configure your printer and link it to your Wi-Fi network.
You may start the semi-full reboot on your printer in a few different ways. You may be able to discover instructions for doing so in your printer’s user manual or by contacting your printer company’s support staff.
How to Scan to a Computer from Any Printer
Even in this day and age, when practically all of it is online and virtual, you will undoubtedly receive some physical documents. The easiest approach to keep these papers safe is to scan them and store them to your hard drive, cloud storage, or NAS.
A multifunctional or all-in-one printer is required for this. These gadgets, however, can be difficult to set up and operate. Even if you have additional models from the same manufacturer, they frequently require separate applications and drivers.
Windows Scanning
If you use Windows, your computer will recognise your device once it is connected via the USB port. Whether your printer is wireless or network-attached, Windows will recognise it immediately if it is linked to your network or the computer’s Bluetooth connection.
If your computer does not identify it, you would have to manually configure the machine.
Adding a Printer by Hand
Before beginning this method, make sure your printer has electricity, is switched on, and is linked to your computer. If you have a networked or wireless printer, make sure it’s linked to the same network as your computer.
After you’ve double-checked everything, try restarting your printer and seeing whether your computer now recognises it. If it still doesn’t work, let’s try manually adding your printer.
First, choose the Start button, then select Settings. Navigate to Devices > Printers & scanners in the Settings pane. Select the Add a printing or scanner button from the Add printers & scanners section. Wait for the computer to discover nearby devices, both directly linked to your computer and via the network.
When your computer has detected all nearby devices, choose the one you wish to use and click Add device. It will then add your machine automatically, and you may select it later from your scanning choices.
If it doesn’t work, click the link The printer I want isn’t listed. Windows will then launch a wizard to help you add your printer. Simply follow the on-screen directions to install your device.
After you’ve connected the gear, use the applications to begin your scan. Windows provides two methods for scanning documents: the classic Windows Fax and Scan software and the modern Windows Scan app. Both will be discussed more below.
Fax and Scan in Windows
To open the software, click Start, then Windows Accessories > Windows Fax and Scan. Select New Scan in the Windows Fax and Scan box. After that, a New Scan window will display. Check that you’ve selected the right device under Scanner. Otherwise, click Change… to select the correct one.
After you’ve chosen your device and configured your scan settings, click Preview to begin scanning and see how your paper will look. When you’re satisfied with the results, click Scan to scan and save the image.
The stored picture will then display in the Windows Fax and Scan app’s main window. The file is normally kept in your Documents > Scanned Documents folder if you need to access it.
Scan Windows
This application is not often pre-installed in Windows. You must first go to the Microsoft Store and search for Windows Scan before downloading and installing it. After you’ve configured it, open it from your Menu Bar by clicking Scan.
A new Scan box will be shown. If you have several scanners, choose the relevant device, choose the File type to store your scan, and then click Preview. Your scan will then appear in the main window. You may also change the shape of your file’s edges by dragging and dropping the white circles at the corners.
After you’ve finished your settings, press the Scan button. After scanning your file, the software will display a pop-up at the top of the window informing you of the scan’s file name and location. Click View to open the file in a picture app, or Close when finished. The saved file may be found in your Pictures > Scans folder.


