A good printer that can meet employees’ everyday responsibilities is required in a busy office. Epson WorkForce WF-2630 Driver is a good solution in this circumstance.
This printer will undoubtedly meet your workplace needs due to its superior technology and ease of use. This printer’s performance will also expedite the job.
Because of its advanced technology, this printer is ideal for an office. You may go through the features to see why this printer is the ideal choice for your office.
This Epson WorkForce WF-2630 Driver has four vital qualities, one of which is speed. This printer produces printing results quickly.
It has a print speed of up to 9 pages per minute. It can also print at 4.7 ppm in colour.
It also has the capability of printing multiple pages up to 99 pages. Having a technology like this in your office is unquestionably beneficial.
The 3.0 Picoliters will provide crisp document text that your workplace will require all of the time.
This printer will accommodate the fast-paced working environment while still producing high-quality results. It’s also simple to replace an empty ink cartridge without leaking any ink.
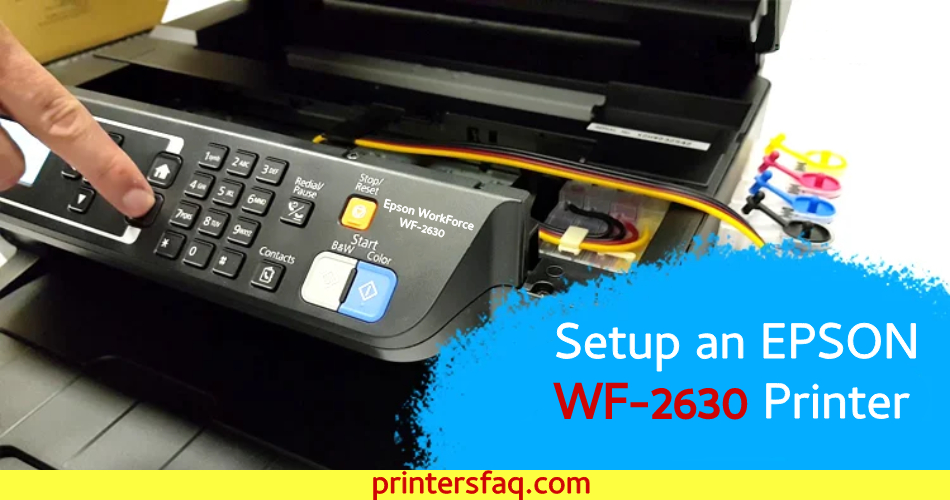
To link the Epson WF-2630 printer to Epson Connect, follow the instructions below. To construct the optimum printer configuration, try to guarantee a reliable network and power connection.
Turn on the system and the printer interface connection first.
Install and download Epson Connected Printer Setup from the URL below, and then run the programme using Epson Official website assistance. The subsequent page will display a list of possible printer names. Select the selected printer and proceed.
Then click Printer Registration> Next.
The Formal Contract will be shown on the next page. Tap Next after clicking Agree.
Load the suitable paper sheets into the tray. Then, double-check the printer screen settings.
Follow the on-screen directions to enter your information and then click the Finish button.
When the Epson WF-2630 printer is installed in the system, a notice email will be sent to the email address you specified.
Finally, the Epson Connected service is ready for usage.
In This Article
- 1 How to Install Epson Connect on Windows and Mac Devices
- 2 How to Configure a Wireless Connection on an Epson WF-2630:
- 3 How can I order an Epson printer online?
- 4 How to Change the Status of an Epson Printer on Windows 10
- 5 How to Bring a Printer Back Online
- 6 How to Repair Epson Printer Offline Problems on Mac
How to Install Epson Connect on Windows and Mac Devices
To begin, turn on the appropriate H printer.
Follow the on-screen directions after launching Epson Connect Printer Setup.
Mac:
Mac OS X > Applications > Epson Software, followed by Epson Connect Printer Setup.
Note: If you can’t find Epson Connection Printer Setup, go to the official website and download it.
Select Printer Registration, then click Next.
The Formal Contract is shown. Click Next after selecting Agree.
Load appropriate paper sheets and press OK when the printer confirmation screen appears.
Select the option When the user account enrollment screen appears, I already have an account.
Follow the on-screen prompts to enter your data and then click Add.
When you finish registering, a setup information page is produced from the printer you registered, and an email notice is sent to your email address.
The Epson Connected service is now available.
How to Configure a Wireless Connection on an Epson WF-2630:
Setting up the Epson WorkForce’s wifi connection on your PC is actually rather simple. This article will walk you through the stages of setting up a wireless network using the WPS connection method. Before beginning the installation, various prerequisites must be met, such as your access point having a physical WPS push button and your network using the WPA2 security protocol or WPA.
To begin, switch on the printer. Hold down the Wi-Fi button until the warning light flashes once. Check that it flashes blue light.
Within 2 minutes, hit the WPS button on your access point. While searching for your access point, the blue light will remain to flash. The power and Wi-Fi lamps will blink once it has connected to the access point.
If the operation is completed successfully, the power and Wi-Fi lamps will cease blinking and remain illuminated.
To see if the operation was successful, try printing out your printer’s network settings.
Place a piece of paper.
Hold down the Resume/Cancel button for 15 seconds until the indicator bulb flashes 15 times, then release it. The network information page will be printed by your printer, indicating that the installation was successful. 31
How can I order an Epson printer online?
One of the most common issues encountered by Epson printer customers is the computer displaying the Printer Offline while the printer is really turned on and ready to print. When your printer displays ‘Offline,’ it typically means it is unable to interact with the computer. If you are experiencing a similar issue with your Epson printer, here are some simple fixes to the problem.
Step 1: Double-check your Epson printer’s connections.
While it may be easy to begin troubleshooting procedures straight away, this is not always the best course of action. People sometimes ignore this as the first step in resolving any printer issue since it is so obvious.
If your printer is appearing as offline, there is a communication issue between the printer and the computer. The major source of this difficulty is a physical connection issue, such as a problem with the cords in the event of a wired connection. A loose connection is one of the most prevalent reasons for a Printer Offline error.
As a result, make sure the USB cable is securely positioned at both ends. If you have an extra USB cable, try changing it to see if the problem is fixed; this will rule out cable difficulties. If you find that there is no issue with the connection, proceed with the troubleshooting procedures outlined below.
Step 2: Manually switch the Epson printer to “Online.”
Offline Printer Troubleshooting for Windows 7:
Select Control Panel, then Devices and Printers by clicking the Start button in the bottom left corner of the screen.
Offline Epson Printer Troubleshooting for Windows 8.1 and Windows 10:
Go to Start > Settings > Devices > Printers and Scanners to get started.
Select the Epson printer from the list by right-clicking on it. Check out what’s printing.
When a window appears, pick Printer from the top bar.
Select Use Printer Online from the drop-down option.
Step 3: Cancel any outstanding printing tasks.
Select See what’s printed by right-clicking on the Epson printer in the list.
To delete any existing print jobs, right-click and select Cancel.
Choose Use Printer Online Again.
If the issue persists, restart the Epson printer and PC.
Step 4: Reinstall the Epson printer
Go to Start > Settings > Devices > Printers and Scanners to get started.
Select Epson Printer from the list, then click Remove Device.
Download the most recent printer driver and software for your Epson printer model from the Epson website.
Install the printer again.
More information on using a Driver Update Tool to automate Epson Driver Updates may be found here.
If installing the printer does not solve the problem, you must uninstall all Printer Driver and packages by following the instructions given below (make a full backup before deleting or upgrading any Drivers):
Step 5: Uninstall all printer drivers and software
Log in to a user account with administrative rights.
Select Start > All Programs > Accessories > Command Prompt from the menu.
Type printui /s /t2 into the command prompt window. Remember to include spaces in the command. This will launch the Print Properties dialogue box.
Remove your printer’s Driver and Package from the list.
Using the Add a Printer option, reinstall the printer.
How to Change the Status of an Epson Printer on Windows 10
Printer offline on Windows 10, and why and how to bring it back online. Examine your desktop settings to see what is printing. Take the Print task off of the printer queue. Inspect the cartridges and follow the procedures below.”
On Windows 10, press the Start button.
In the left-bottom search field, type “printers and scanners.”
Navigate to the System Settings page.
Now, choose your printer model and then select “Manage.”
Choose your printer from the drop-down selection on the left-hand sidebar.
Open tap by clicking “Open print queue.”
Right-click the test print page and select “Cancel All Documents.”
How to Bring a Printer Back Online
There might be various technical reasons why your printer is not working. You must first determine why the printer is down. The second question is how to solve it. If you need immediate Printer offline Support, then contact qualified technical specialists to handle any printer difficulties.
Navigate to Settings>Hardware and Sound.
The screen will now appear, with the first option being “Devices and Printers.”
Now, choose your printer model and validate the status of the local printer.
Check that the printer’s power is turned on and that it is linked with the same network as the desktop.
How to Repair Epson Printer Offline Problems on Mac
What is causing the printer to generate offline errors? Perhaps the connection is unstable. The offline status notice will occasionally arrive. The Mac device is unable to connect to and communicate with the printer. One of the explanations might be that the printer has been turned off or that the USB cord is not correctly attached. There are ways to resolve the printer offline issue on the Mac.


